In my last post I introduced the idea for a new craft- little winter wonderlands inside mason jars. I’ve been working on them over this past weekend so I could get the final product up here along with a how-to. I have to say I’m still super excited about these. They are coming out adorably, and let me tell you, there are limitless ways to decorate them. I’ll show you exactly what I did for a couple of mine, but don’t feel limited to what I used or how I made them. This craft is really simple and is a great way to show off your own creativity.
What I used:
- Various-sized mason jars
- Iridescent crafting snowflakes
- Ornament sized nutcracker
- Mini Trees
- Glue gun and glue sticks
- Ribbon
- Holiday stringed beads
- Various mini crafting figures (glittered deer, string lights)
Optional Extras:
- Acrylic Paint and foam paint brush
- White/iridescent glitter
- Small piece of fabric (for covering jar lid)
What I did:
Small Jar:
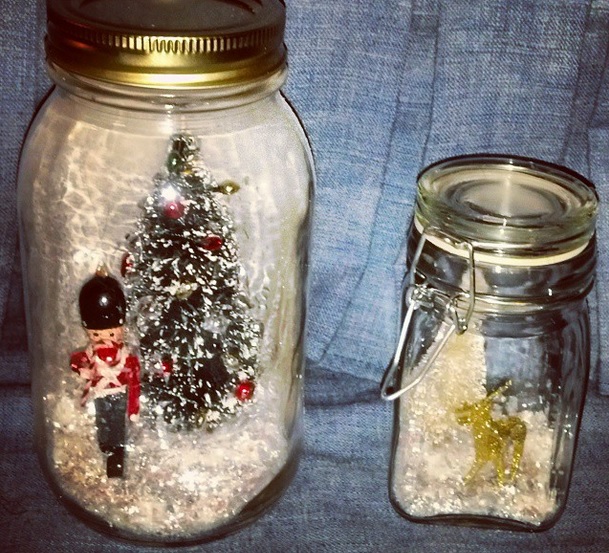
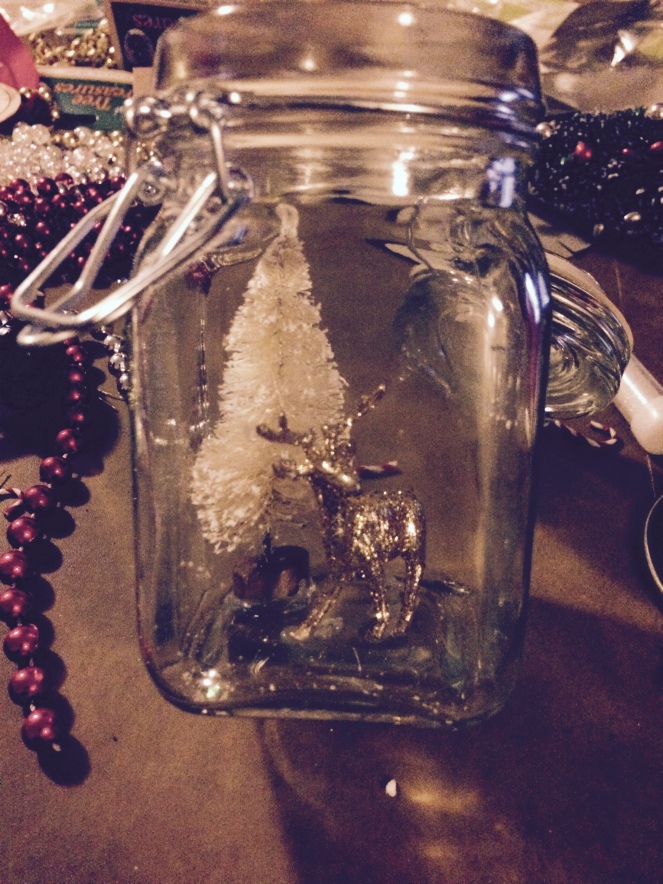
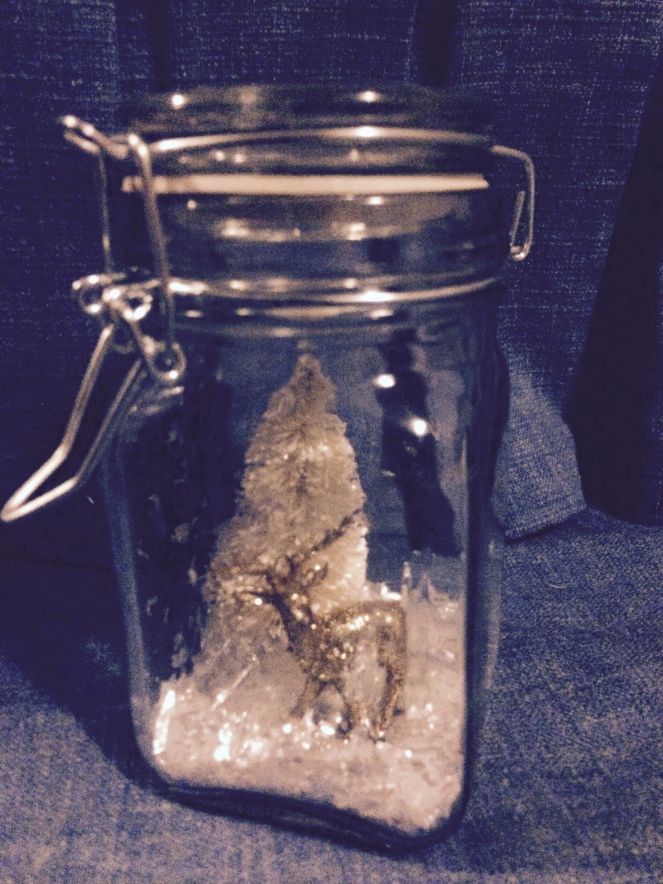
For the small clamp lid jars I kept it super simple. I used just a little fake snow, my glue gun and glue sticks, a mini white tree, and a mini gold-glittered deer for this one. I used my glue gun to glue the bottom of the tree inside the jar. This can be a little tricky depending on the size of the jar. I used a pair of tweezers to place the tree at the bottom of the jar. I then used a little glue on each of the feet of the deer and, using the tweezers, placed it in the jar beside the tree.
At this point all that’s left is to make it snow! I dumped about a handful of snow into the jar- about enough to cover the base of the tree.
It’s that simple!
I love the clean look of this one. The gold dear and white tree give it an elegant feel.
Large Jar:
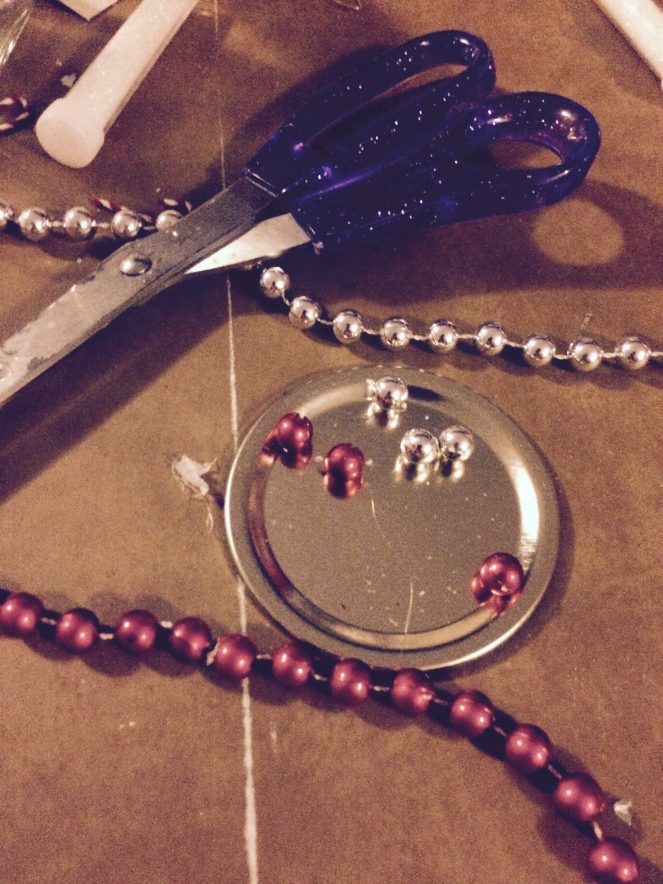
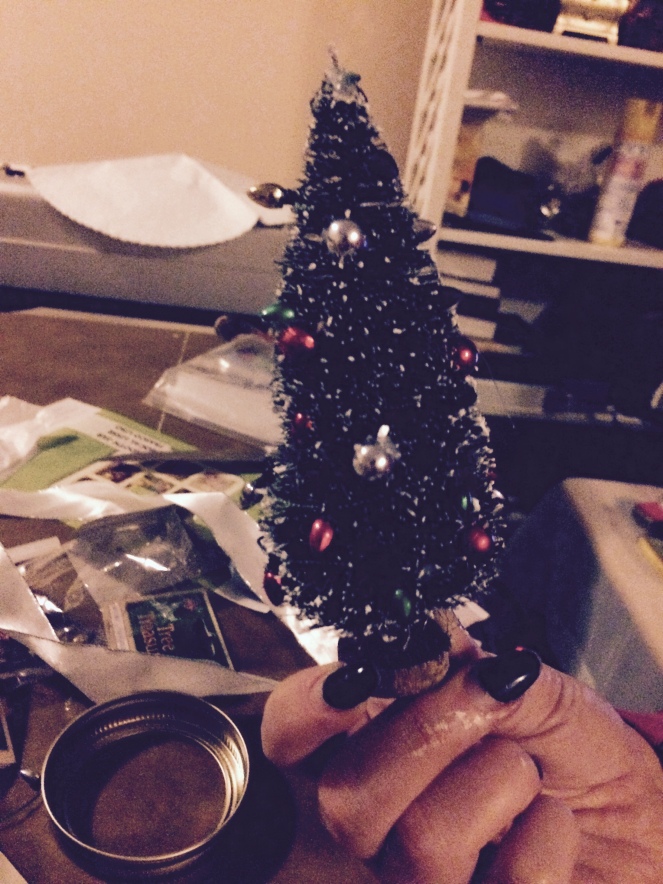
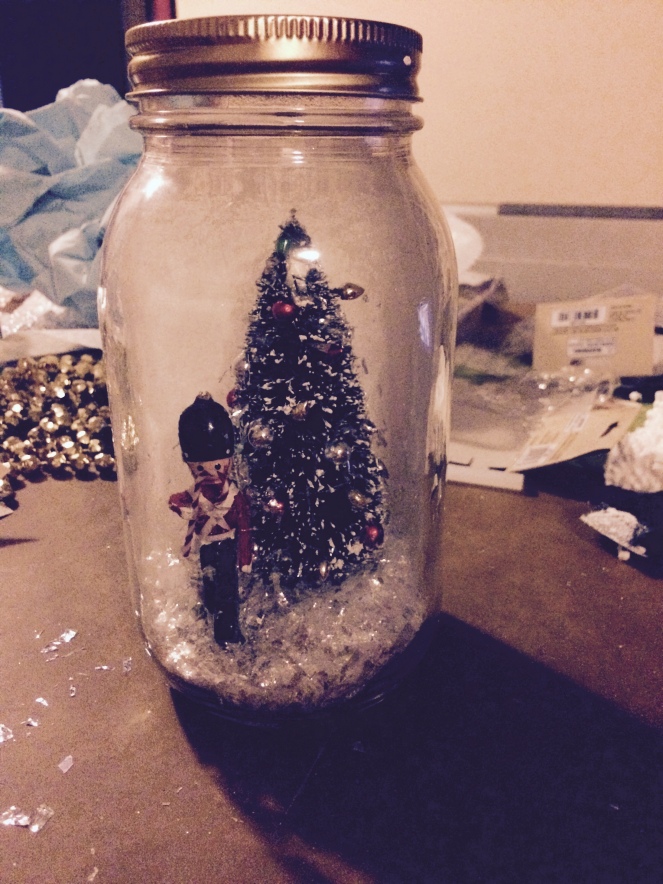
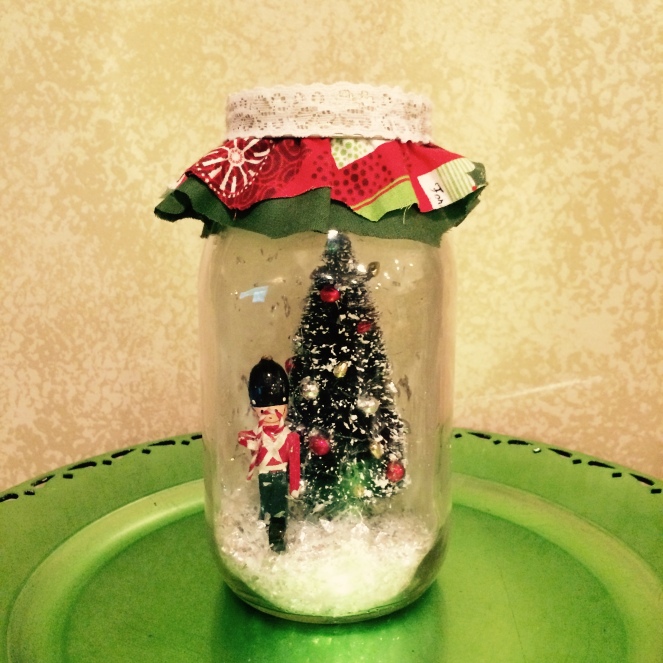
For this one I got a little more creative and colorful, with a classic old-time Christmas feel. I started out with a mini-tree- a little larger than the one I used for the clamp-lid jar. The tree was looking a little sad all by itself so I was trying to think of a way to make it a little more fun. Chris had a great idea to actually cut the little beads from strands of Christmas beads we had and glue them to the tree like little ornaments. I also used the little package of mini string lights to wrap around the tree.
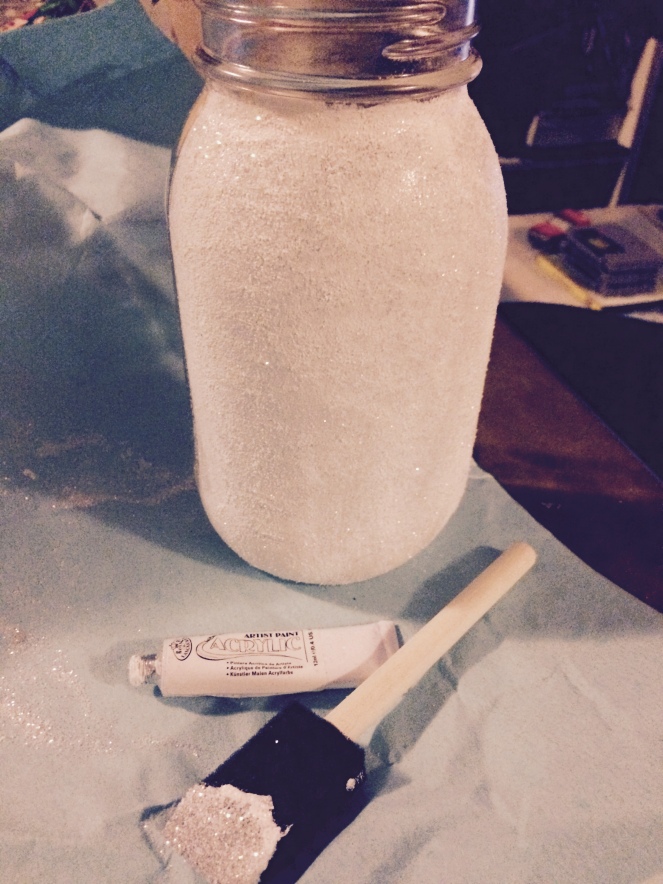
After I decorated the tree, I began preparing the jar. For this one I decided to paint the back half of the jar with white acrylic paint to give a background to the scene inside. I painted a thick coat of white and while it was still wet I sprinkled white glitter over the paint. I then took the sponge brush and began patting the wet paint and glitter to create texture.
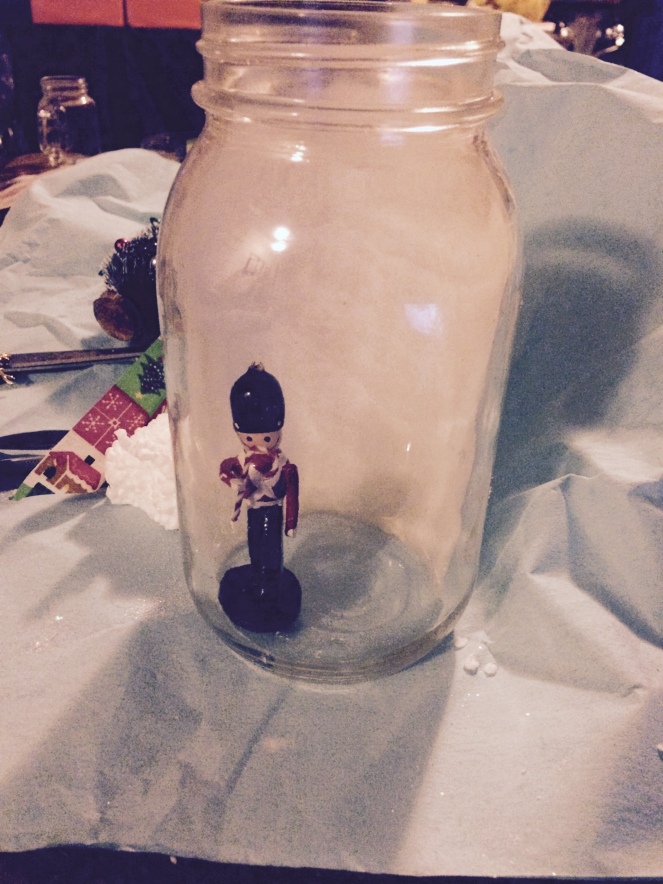
Once that was dry I used my hot glue gun to glue the bottom of my little nutcracker figurine to the bottom of the jar. Again this was difficult to reach into the jar to glue the figurine down. I used tweezers to reach down far enough, but one way to make it simpler is to make the jars upside down. Just glue your scene to the inside of the lid and screw the lid back on when finished. I personally like the look better when they are glued to the bottom of the jar, but experiment with it and see what you like.
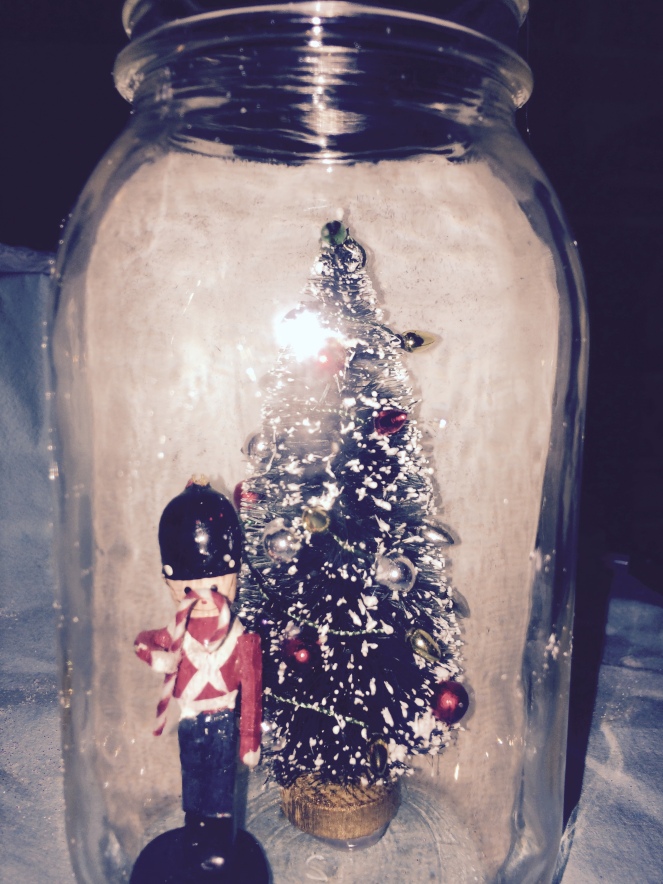
Then I hot-glued the base of the decorated tree inside the jar.
Once again at this point all that’s left to do is make it snow! I put a couple handfuls of snow inside the jar (until the base of the tree was covered). You can use a paint brush or the foam brush you used earlier to sweep the snow off the front of the jar or anywhere else it is unwanted.
I then topped it off with a piece of square (or circle-cut) cloth over the top of the lid and tied it down with a ribbon around the top. I think this is the perfect final touch for a country-chic look.
There you have it! A holiday-in-a-jar! I’m planning on a making a bunch of these and am heading to the craft store this week to get a few more different trees and little figurines to play with. You can easily find everything I purchased at AC Moore, but don’t be afraid to check out your local thrift shops, and I even found some mini trees, lots of holiday decorations, and jars at The Dollar Tree. These are simple to make and don’t have to cost much more than a few dollars if you have a glue gun at home. I spent about $20 at AC Moore on trees, snow and 4 jars (which were on sale). This is really a no-rules-craft, and I’m sure you can think of many more amazing ways to put these together. Be creative, and experiment!
If you try these don’t forget to Instagram a picture with the hashtag #myCrafterglow and tag me @thecrafterglow! I’d love to bask in the Crafterglow with you!

These are so cute and easy to make! 🙂 they’d make such nice centrepieces.
LikeLike
Thanks! I so agree about making them centrepieces!
LikeLike